ET Terrain Viewer
allows you to view your GIS data in 3 dimensions. You can load in
the viewer Raster or TIN surfaces, Z enabled features and even plain
2D features by draping them on an existing surface. Then you can
navigate through the 3D environment using several different
navigation techniques.
 Main
features of ET Terrain Viewer are:
-
Simple and intuitive user interface.
The software was designed to be immediately intuitive and easy
to learn
-
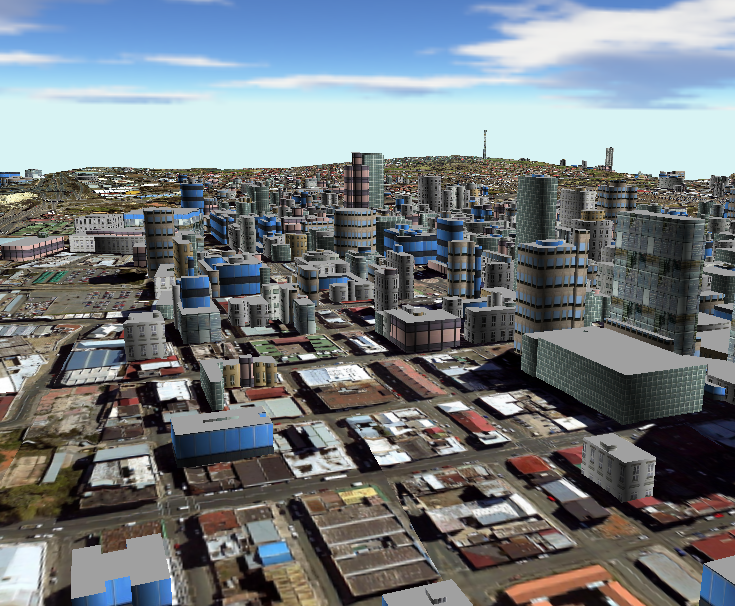
Hardware-accelerated 3D visualization.
ET Terrain Viewer utilizes the available graphics hardware to
provide better performance. Rendering is performed using
Direct3D. A graphics card with hardware transformation and
lighting (T&L) is recommended.
-
Mini-map of the loaded terrain.
An interactive mini-map with an overview of the terrain, showing
the position and looking direction of the observer.
-
Multiple layer support.
ET Terrain Viewer can load and display multiple raster and / or
shape files simultaneously.
-
Layer manipulation:
- User-defined elevation,
drape layer over terrain
- Extrusion
- Z-scale
- Resolution reduction for
increased performance.
- Symbology supports gradient
colors and textures based on elevation or custom attributes
- Customizable point-markers
for point layers
-
Navigation using both mouse and keyboard
-
Tools:
- Identify space coordinates
and elevation
- Walking over the terrain at
user-defined offset from the ground
- Define a route and have the observer follow it automatically
- Dynamic symbols in graphic layer
- Customizable lights, skyboxes and fog effects
-
Export to popular graphics formats - JPEG, PNG, BMP.
Save a snapshot of the 3D image as a picture.
See what is new in version 3.0.
ET Terrain Viewer is a
single-document application, and you can work with only one project
at a time. ET Terrain Viewer starts with an empty project. To add
layers to your project, click Add
Layer from menu Layers.
Note that the first layer you add to a project must be a terrain
layer - raster grid or TIN shape file. To open an existing project,
click Open Project from menu
File.
Get
started with the user interface.
To learn how to navigate the surface
and use the tools, read section
Tools and Navigation. |